Arts & Entertainment
The Garden Club: Daylilies
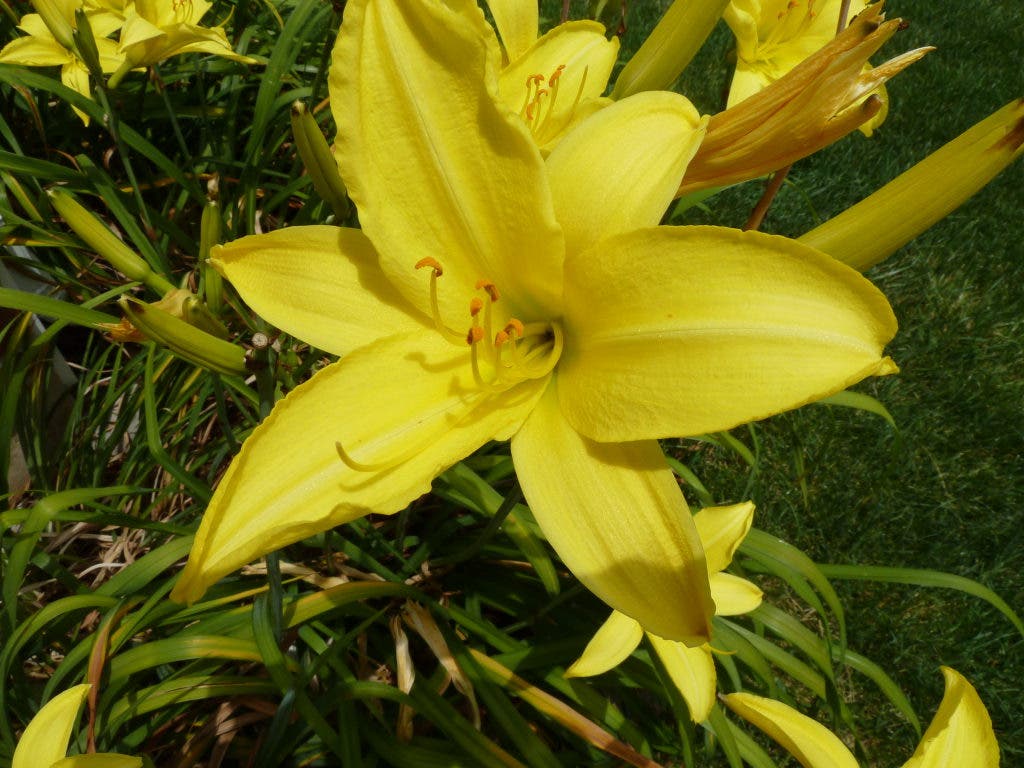
Daylilies are a great way to add stunning color to your summer garden. They are easy to care for regardless of your level of gardening interest and are well suited to our hot, St. Peter's summers.


Daylilies are not actually true lilies. Through years of hybridization, the daylily has evolved and is no longer part of the Liliaceae subfamily. It is classified in the Hemerocallidoideae subfamily.
Daylilies are a diverse group of flower boasting hundreds of varieties. They are easy to care for and thrive with a bit of maintenance.
While a day lily blooms last typically less than 24 hours, each scape (stalk) has many blooms on it. Because of this, a clump of daylilies can put on a vibrant show that lasts for weeks. Daylilies are not commonly used in flower arrangements; however they make beautiful cut flowers for display. A few scapes in a vase will produce flower blooms for several days.
Find out what's happening in St. Peterswith free, real-time updates from Patch.
The optimum time to plant daylilies is the spring or autumn; however, you can still find containers of daylilies in some home and garden centers. If you choose to plant container grown daylilies now, they will need careful and consistent watering while they get established in the heat.
Remove the daylily from the container, gently loosening any parts of the tubers or roots that have adhered to the container. The white area on the foliage (crown) is a good indicator as to how deep the container grown daylily should be planted. The soil should just cover the crown.
Find out what's happening in St. Peterswith free, real-time updates from Patch.
To encourage initial growth, it is best not to fertilize the newly planted container grown daylily for at least a week. Once you do fertilize, too much nitrogen can cause yellowing of the foliage. I have been growing daylilies for more than 15 years and have yet to fertilize mine, yet I have a spectacular show each year.
Grooming daylilies during the growing season keep the plants looking their best. Dead-heading (removing the withered bloom) is easy. Once the bloom fades, wait a day or two then gently remove the spent bloom. It should come off easily in your hand.
Once all the blooms on a scape have died, cut the scape close to the ground. Some lucky horticulturists get a second show of blooms later in the growing season if they do this. A second round of blooms is also dependent on the variety of daylily you are growing.
Unlike bulbs, the daylily foliage is not necessary for bloom formation during the next growing season. You can cut off any withered or brown leaves as they occur.
Daylilies can be easily divided. You will know it is time to divide them when the foliage seems to be thinning a bit as the years go on and the blooms are not plentiful. The University of Missouri Garden Extension recommends the following method for dividing daylilies, and suggests that August, once the blooms are gone is the best time to divide.
- Water the daylilies thoroughly before the day before you divide them.
- Cut the top half of the foliage from the plant.
- Pry the clumps from the soil using a tined garden tool.
- Gently lay the tube system on its side and gently spray off any remaining dirt
- Using two spades pressed back to back, gently pry apart the daylily clump until it is divided into two to four sections.
- Amend your soil as necessary.
- Replant clumps.
The Extension emphasizes that the new clumps need six to eight weeks to develop a root system hardy enough to stand up to the first frost, which in the St. Peter’s area, could come as early as October 15.